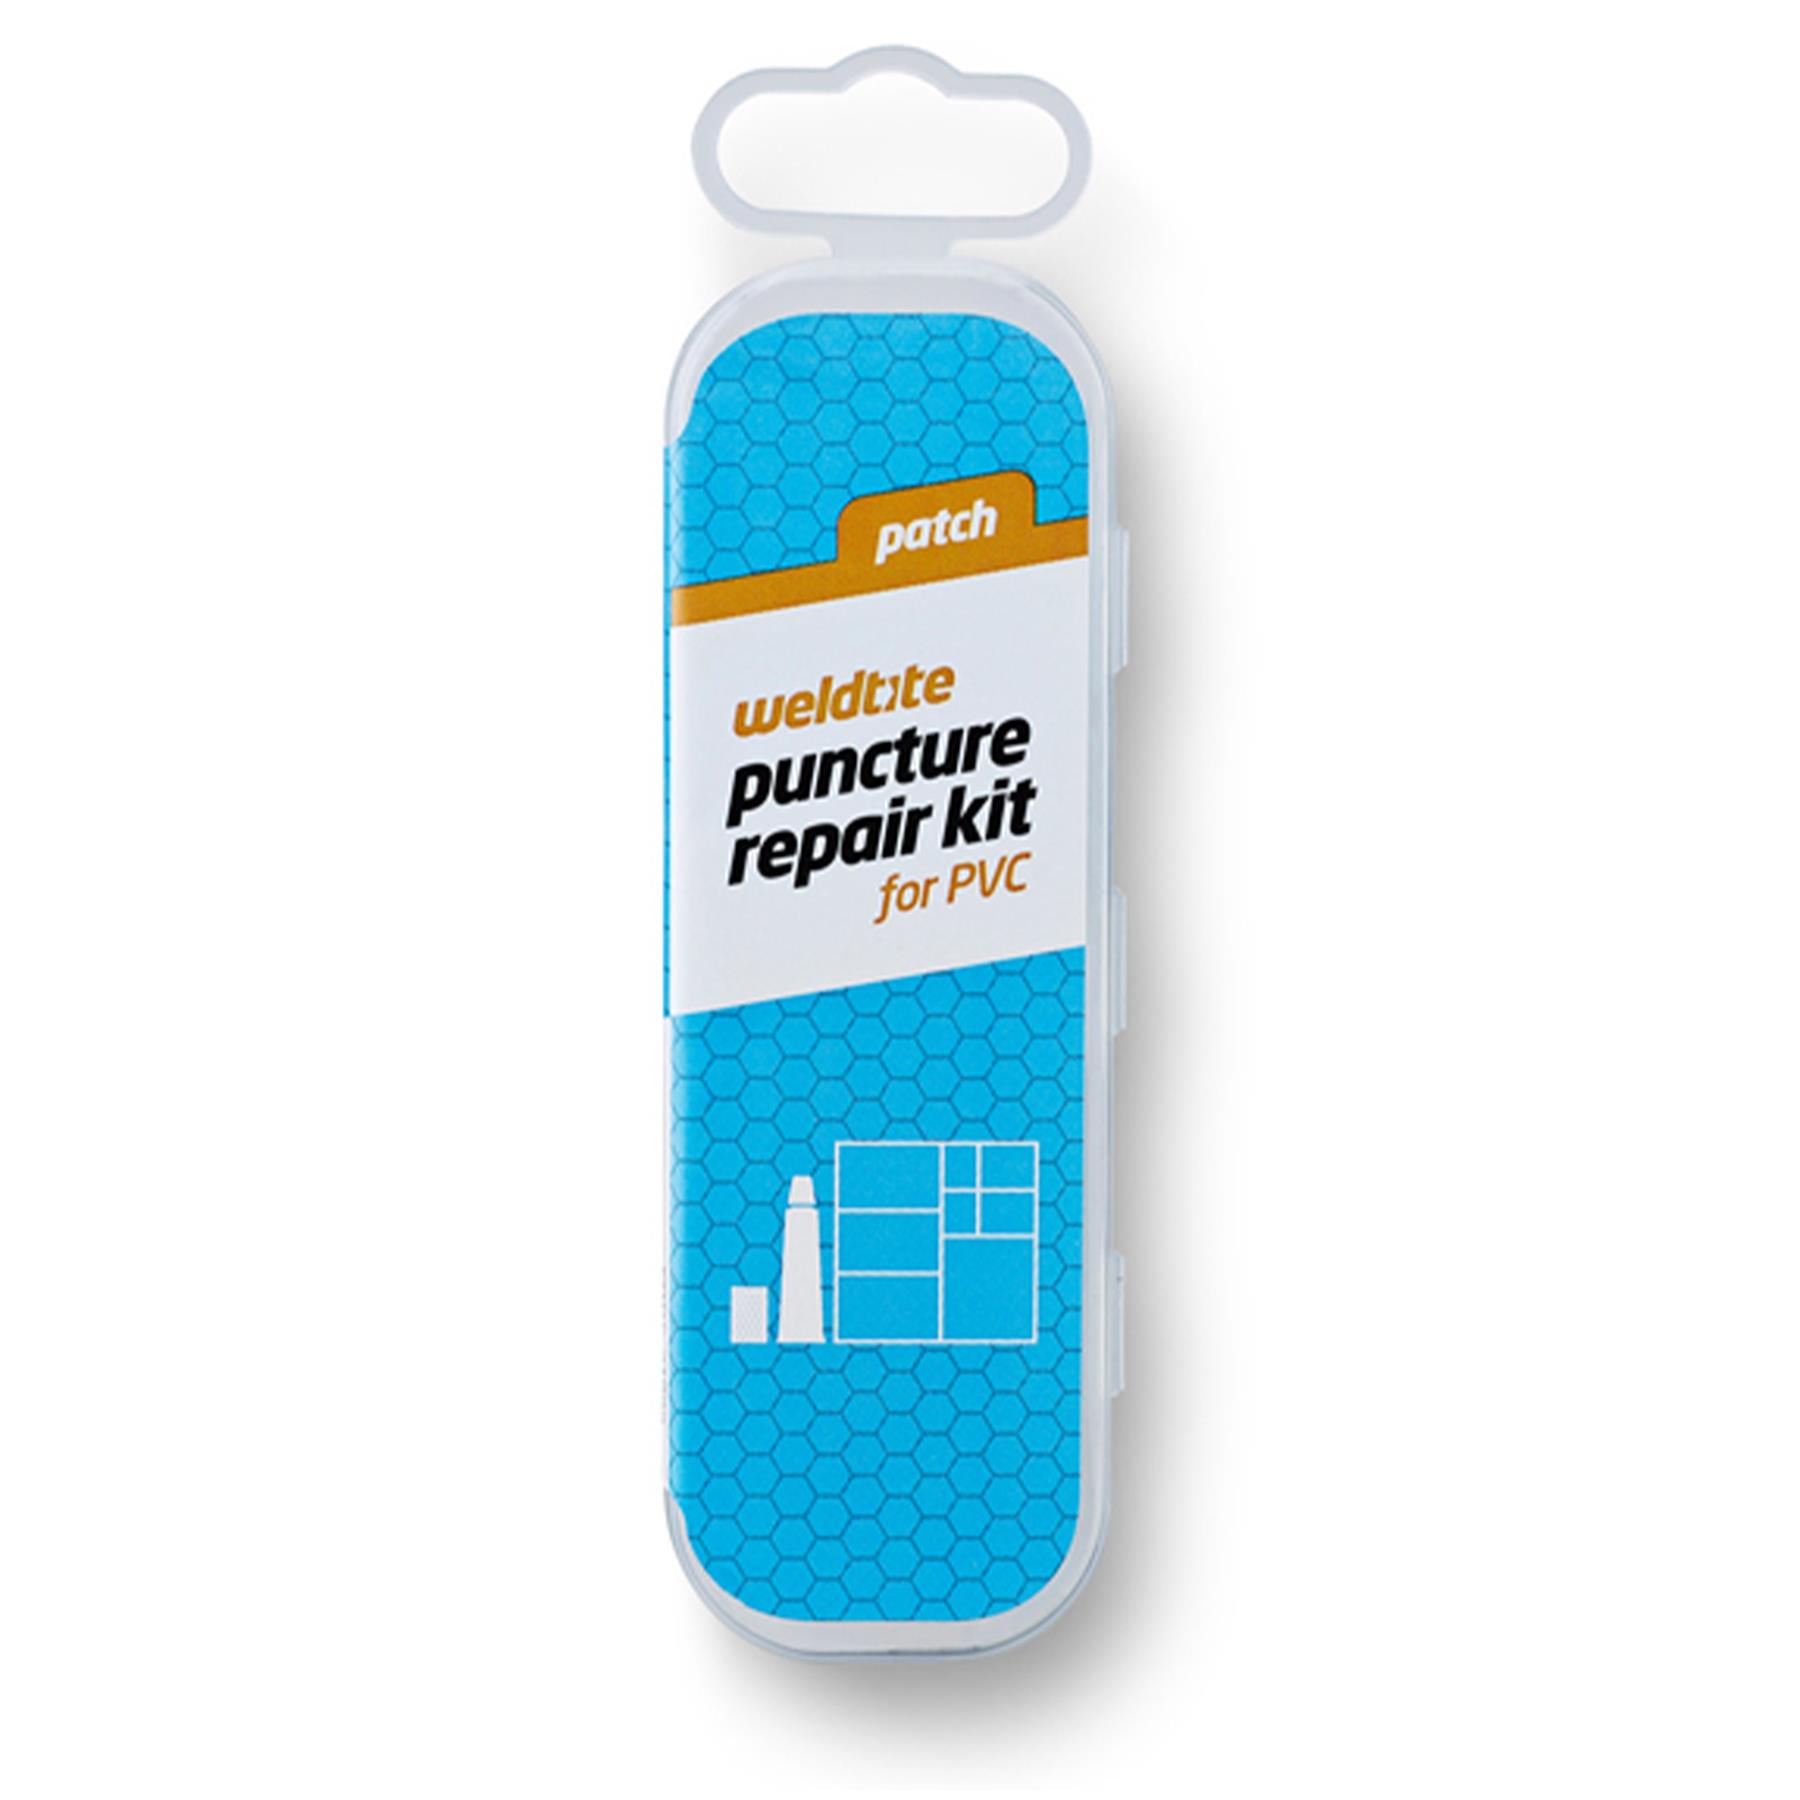
Weldtite PVC Puncture Repair Outfits (box of 25)
£3.09
8 in stock
Description
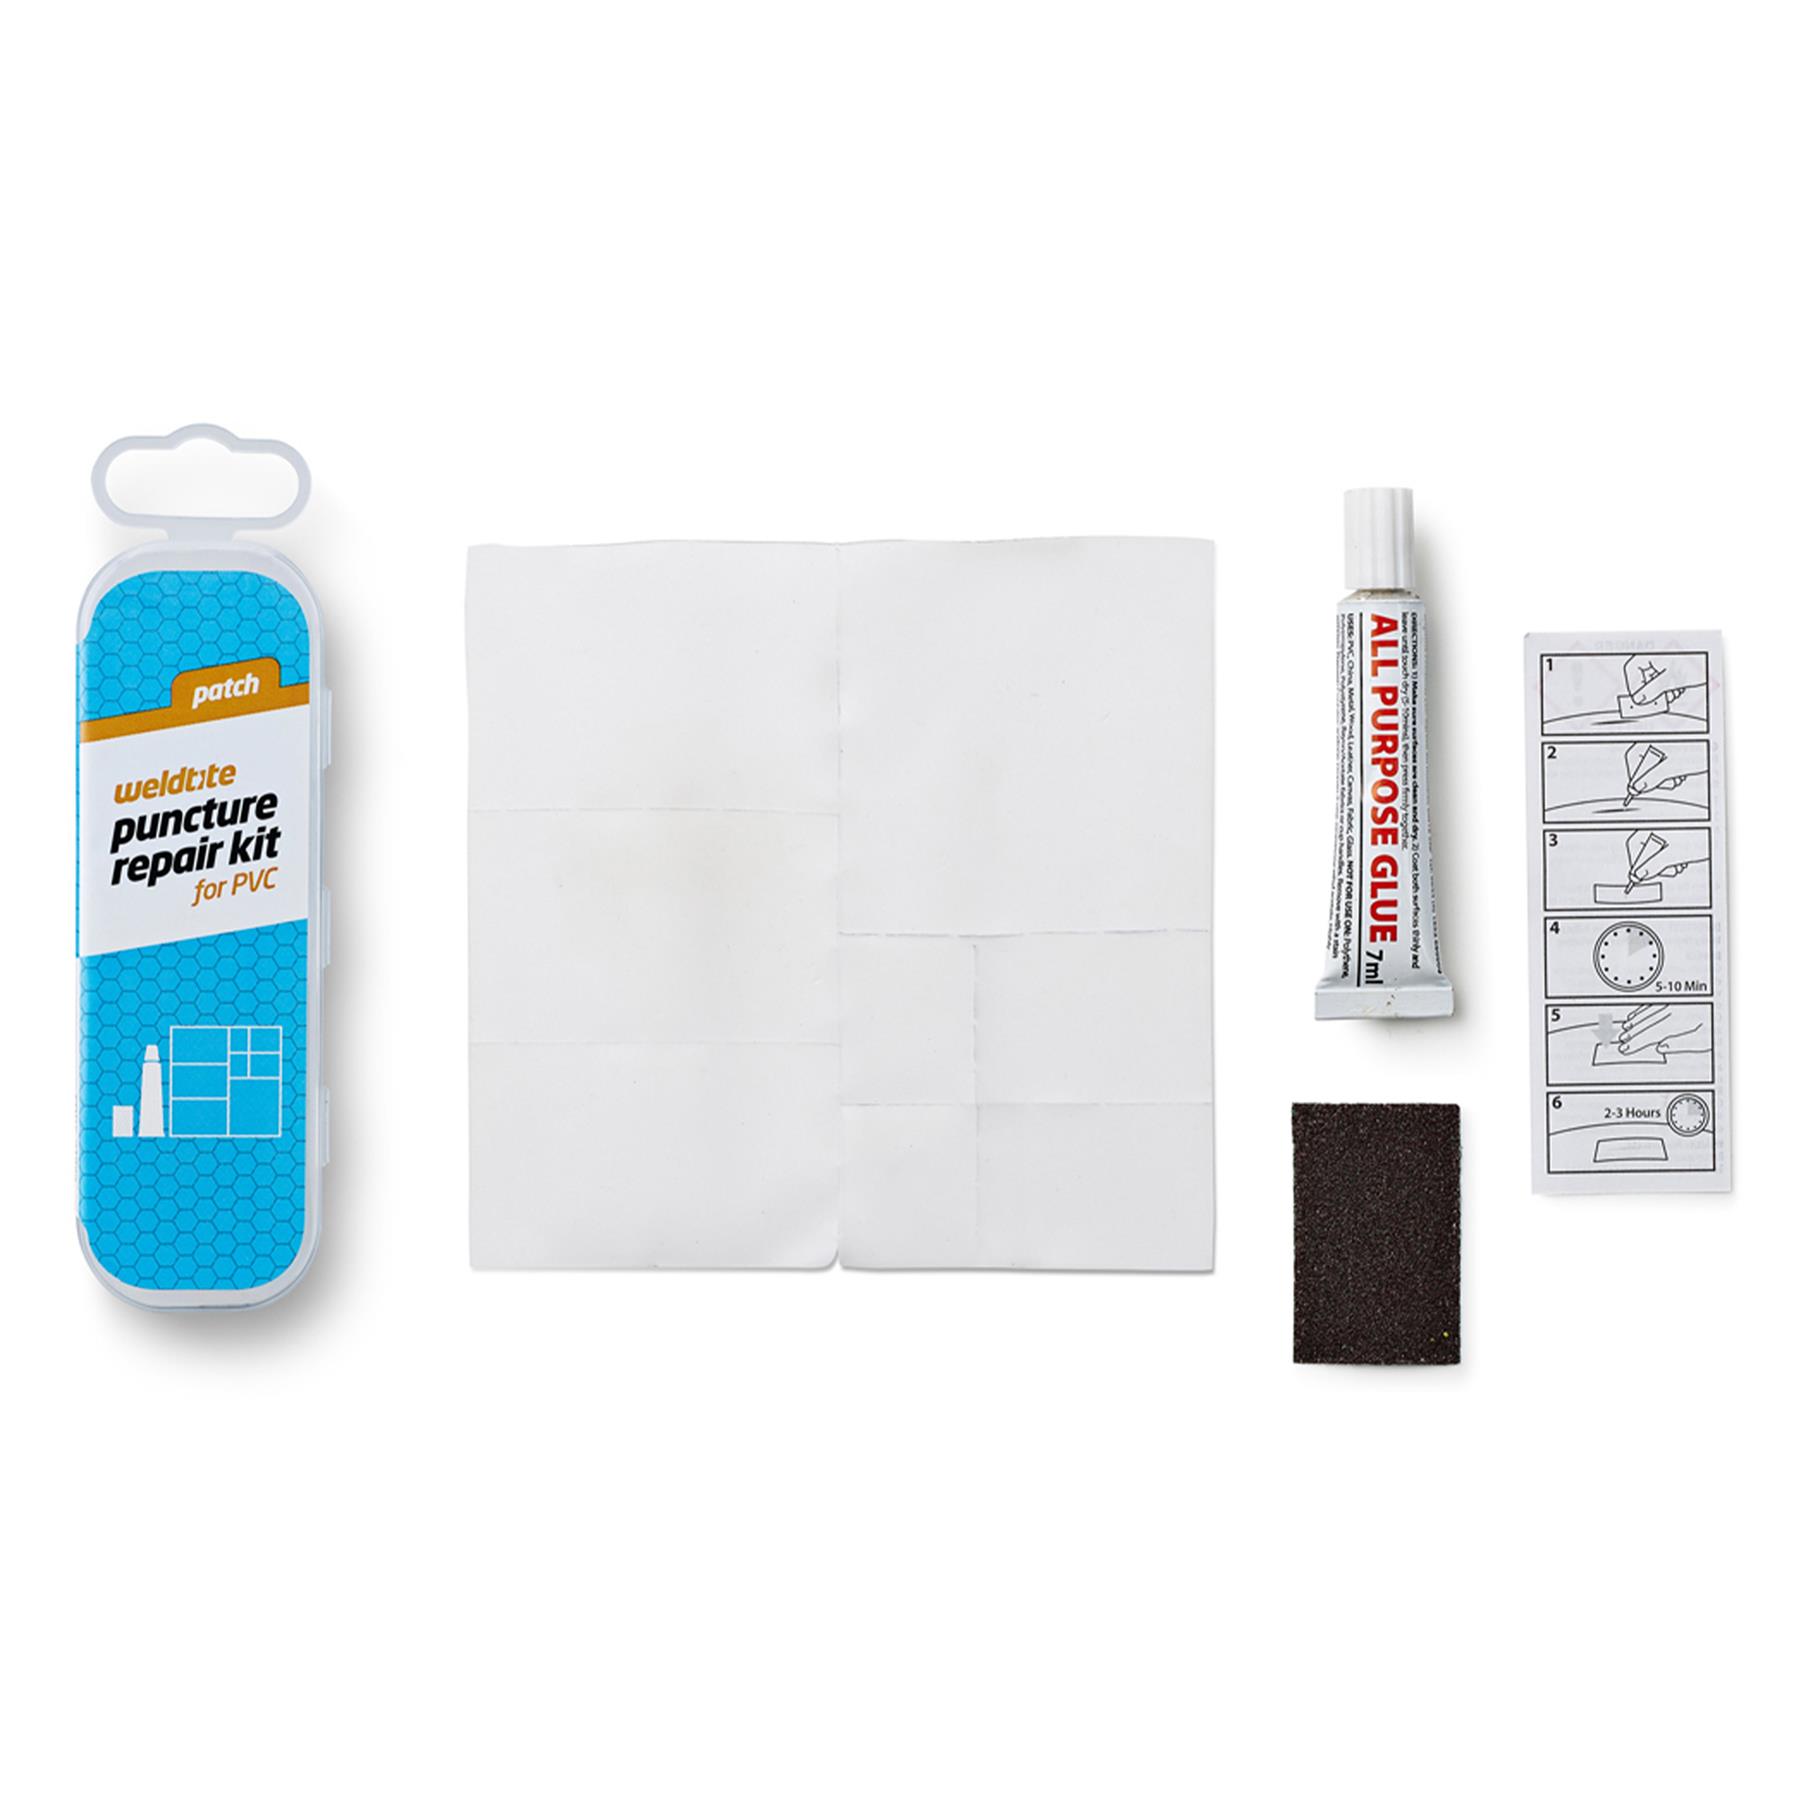
- Identify the puncture: Weldtite PVC Puncture Repair Outfits, Locate the area on your PVC item where the puncture or hole is located. It’s often helpful to inflate the item first to make it easier to find the leak.
- Clean the area: Ensure that the damaged area is clean and free from dust, dirt, or moisture. You can use a cloth or sponge to clean the surface.
- Cut a patch: Take one of the patches included in the kit and cut it to an appropriate size. The patch should be slightly larger than the damaged area to ensure a good seal.
- Apply adhesive: Apply a thin layer of adhesive to the patch and also to the damaged area on the PVC item. Follow the instructions on the adhesive’s packaging for the best results.
- Wait for adhesive to become tacky: Weldtite PVC Puncture Repair Outfits, The adhesive may need some time to become tacky or slightly dry. Refer to the instructions on the adhesive for the recommended waiting time.
- Apply the patch: Carefully place the patch over the damaged area, ensuring there are no air bubbles or wrinkles. Press down firmly to create a strong bond between the patch and the PVC surface.
- Allow it to dry: Let the adhesive dry completely as per the instructions on the adhesive’s packaging. This usually takes some time, so be patient.
- Check for leaks: After the adhesive has dried, inflate the PVC item and check for any remaining leaks. If there are any, repeat the patching process if necessary.
- Use your repaired item: Once the repair is successful and there are no more leaks, you can use your PVC item as usual.
Additional information
| Weight | 100 g |
|---|---|
| Brand | Weldtite |
| Barcode | 5013863010098 |
| Feature1 | Patche carries the slime satisfaction guarantee |
| Feature2 | Ideal sandpaper set for a variety of situations |
| Feature3 | 1 kit packed in printed display box |
| Feature4 | Glue dries clear for a tidy finish |
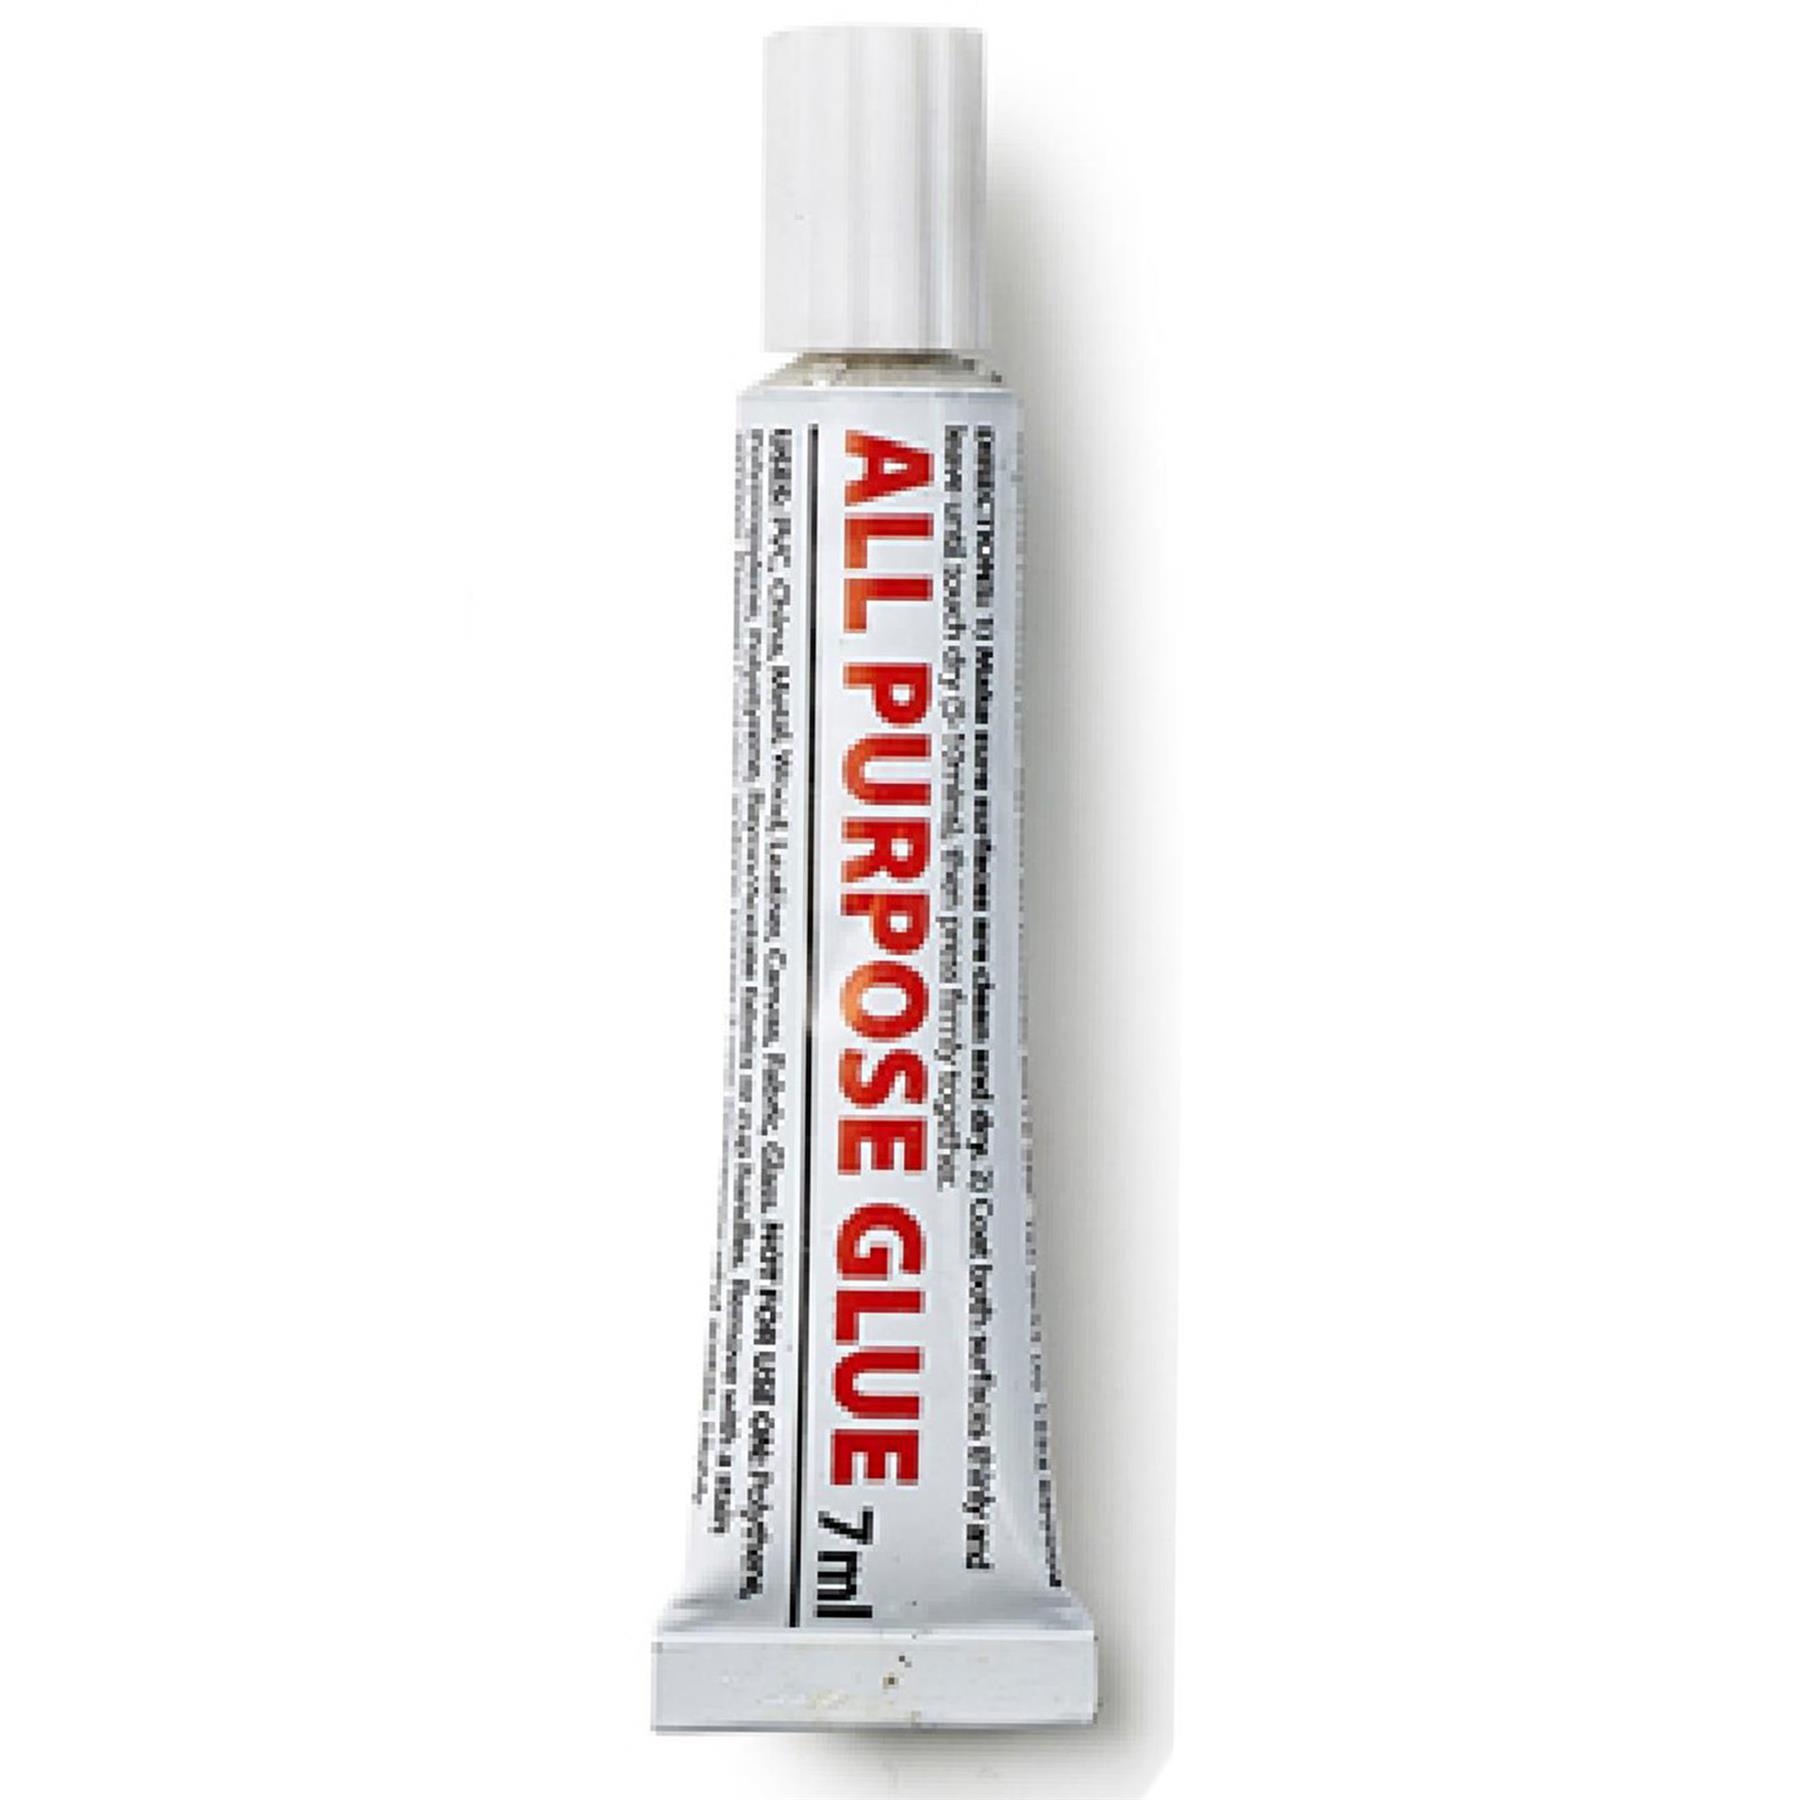
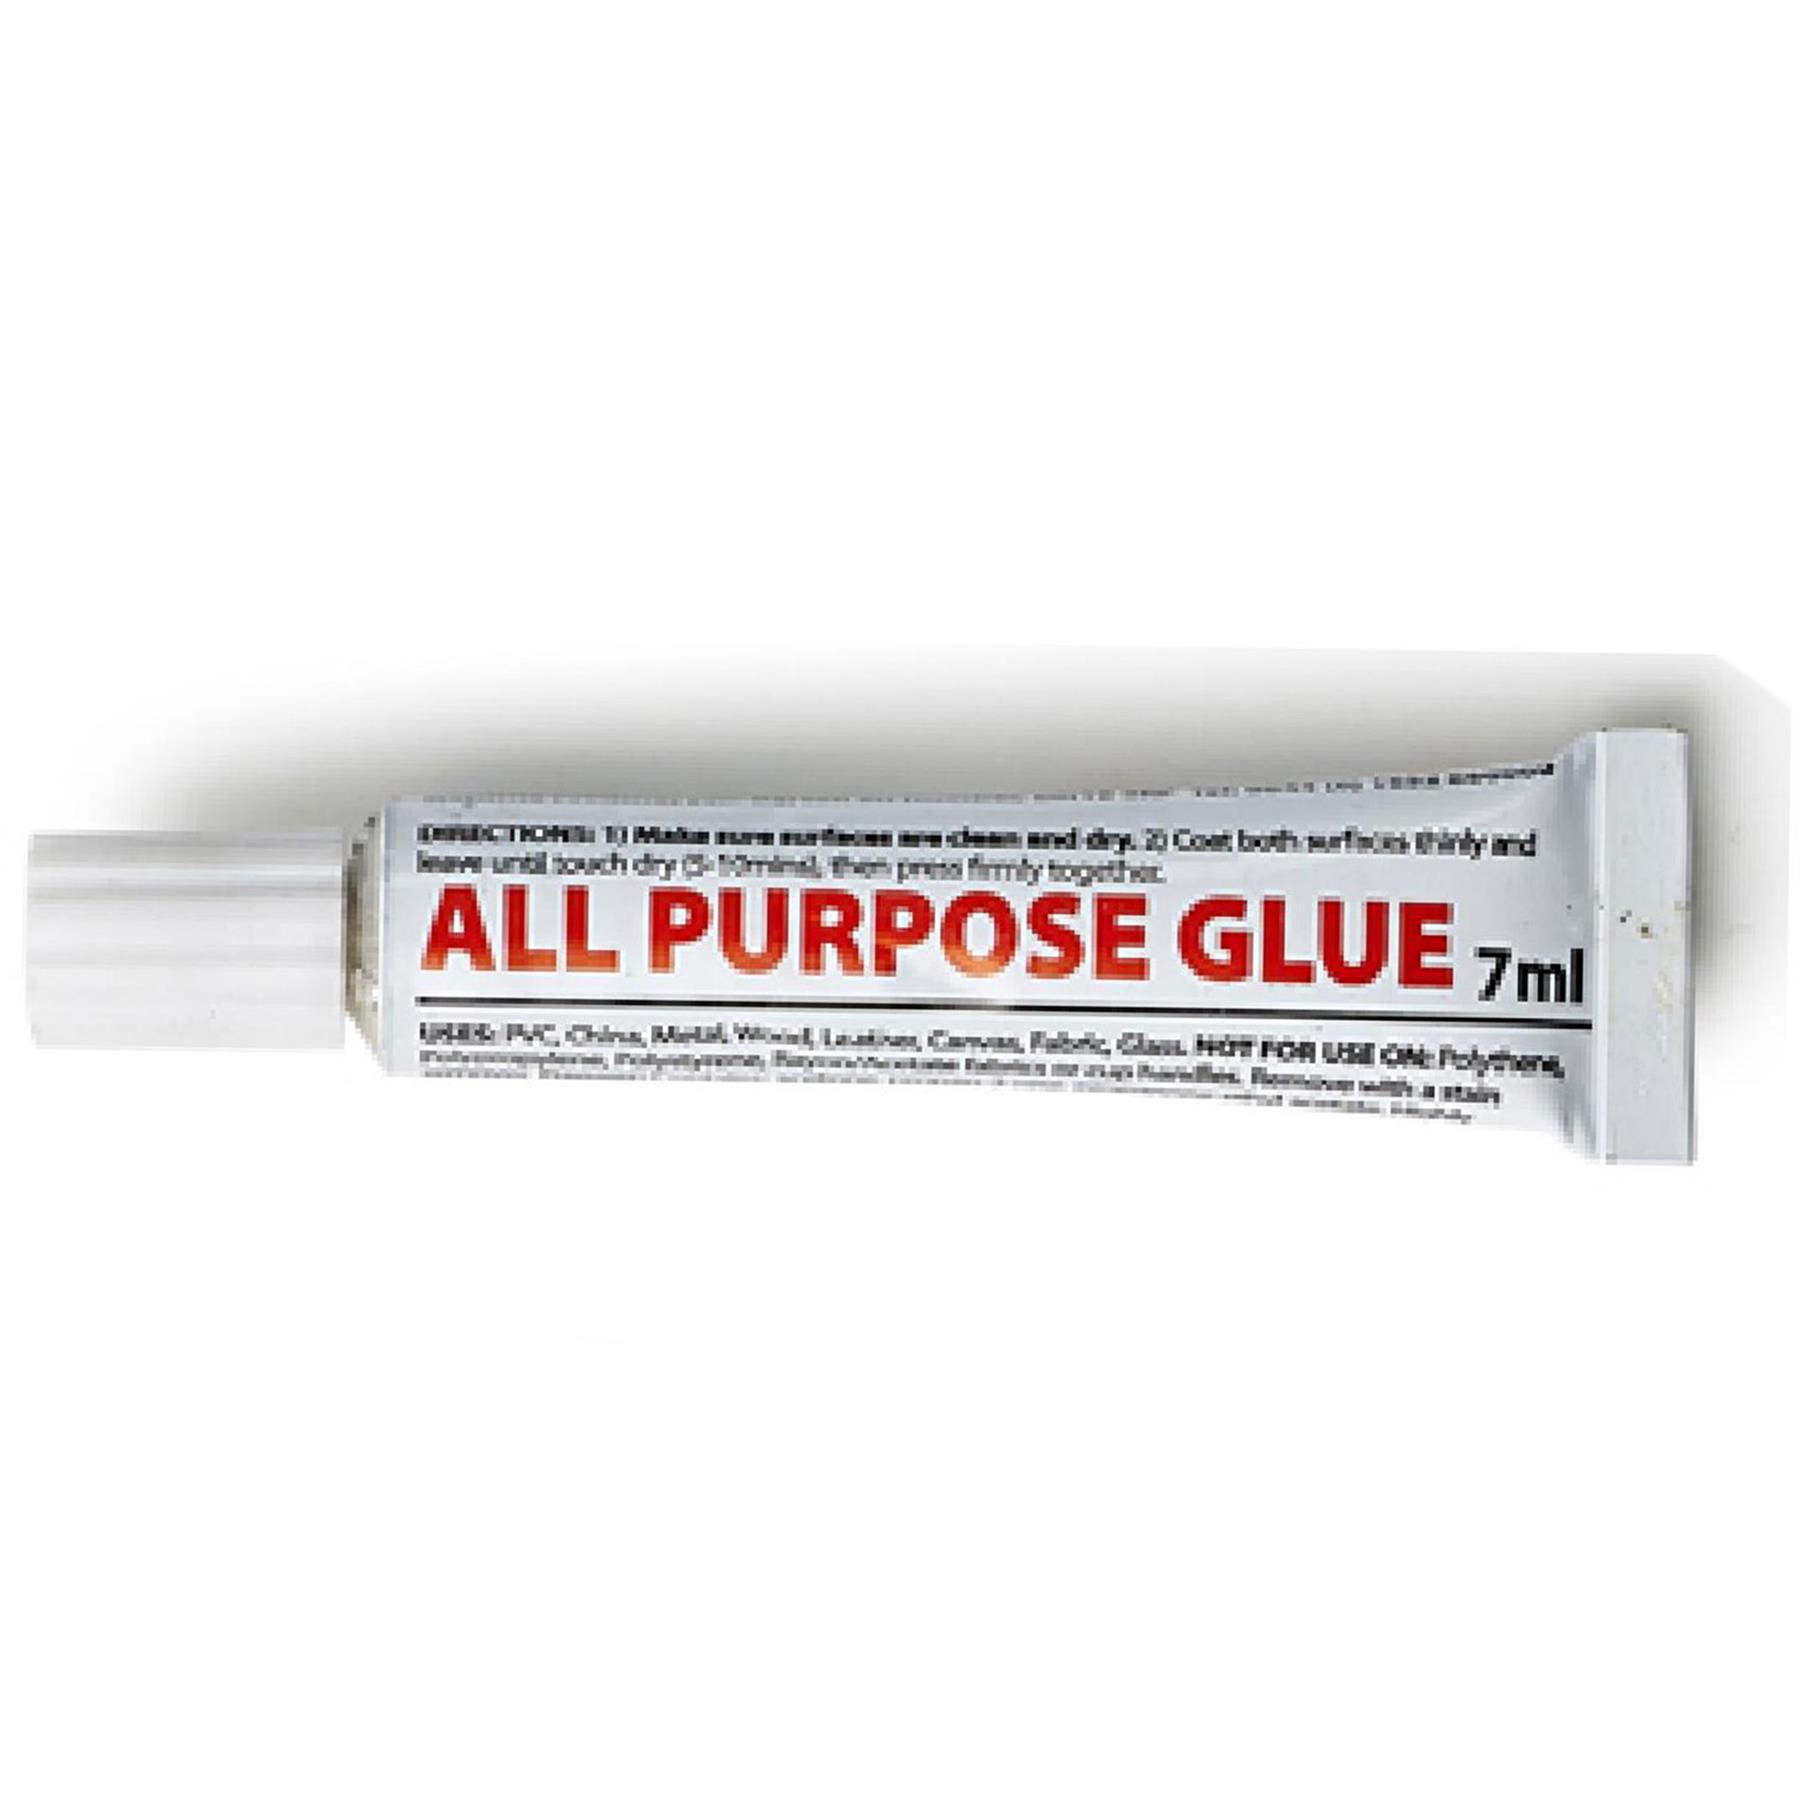
| Feature5 | 5g multi-purpose glue |
| Feature6 | Brand : Weldtite |
| Feature7 | All-purpose glue |
| Feature8 | Sandpaper |
| Feature9 | 8x patches |




Reviews
There are no reviews yet.